The Best Slide Transfer Process to DVD and to CD. We use professional drum scanners. We do not use domestic handheld or flatbed scanners.
Slide transfer to DVD is the best way to enjoy those family slides. We handle each slide individually, colour correct, restore and adjust brightness & contrast as required. Slides really come out vibrant and beautiful. What makes us the best is our expertise and our process.
We can transfer your slides to DVD and add music, titles, transitions and special effects if you like. We can also transfer your slides to CD as digital image files such as .jpeg and .tiff. You can then sort through them yourself and print, email to friends and family, post on your website, etc.
Photo slideshow DVD’s make wonderful gifts for family members, friends, and neighbours to preserve your precious photos and slides as history for generations to come. These DVD’s make great gifts for special milestone events such as, Wedding Videos, Anniversaries & Birthdays.
Converting your photos and slides to DVD offers you a simple way to protect these priceless moments. The best part is that instead of being locked away in an album, family memories are now available for everyone to enjoy.
Slide / Photo Preparation – 3 easy steps
STEP 1 - Select
First make the tough decision — which images to choose and which to lose. We suggest you make a “YES” pile and a “NO” pile, putting all the images that you may want to use in the “YES” pile and all the rest in the “NO” pile. WARNING: This step is way too much fun, so don’t get caught looking at each photo for more then a moment! Try to zero in on the images that will tell your family’s story the best.
STEP 2 - Sort
Gather all of your YES slides & photos together. We suggest you put them in chronological order. Start with the early ones and work your way forward to the present day.
You may have some images or groups of photos that will work better in their own chronological sequences; such as, career or business photos, house photos, holiday, grandchildren, etc. You can even use a special music theme for each group and perhaps even give each group its own title; for instance, you could place the title “Our Babies” before the grandchildren group.
The possibilities are endless!
STEP 3 - Number
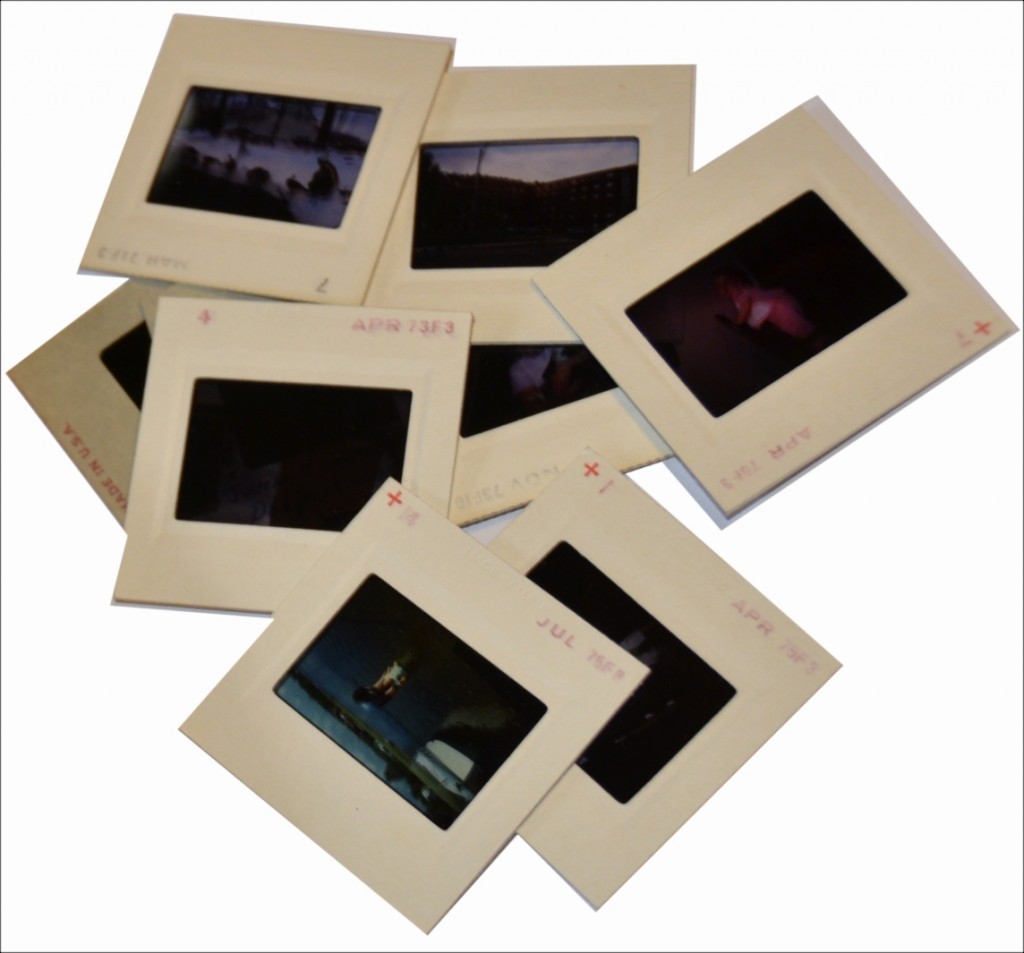
Number your photos on the back with either a pencil or stickers (post-it notes work well). For slides: you can keep them in the carousel (numbered) or give to us loose, but please make sure they are numbered. DO NOT USE a pen as the ink may rub off onto the other photos.
This is also the time to start thinking about music and titles. You’ll at least want a greeting at the beginning and some closing statement at the end of your DVD. For example, if you are making an anniversary DVD, you could simply put “Happy Anniversary Mum & Dad” at the beginning and “With Love, From All Of Us” at the end. Or, if you wish, you can be more personal and creative in your titles.